Introduction
Why a Compelling Event Planning Timeline Changes Everything
Planning an event can feel like juggling fire while riding a unicycle 🎪
From securing venues to managing speakers and finalising agendas the moving parts add up fast. If you’re not ahead of the game, small missteps can snowball into logistical nightmares. That’s why a compelling event planning timeline is your best friend – and secret weapon.
Think of your timeline as the GPS for your entire event. It shows you where to go, when to get there, and what turns to make along the way. Whether you’re organizing a corporate conference, a product launch, or a nonprofit fundraiser, getting your timeline right helps you:
- Avoid last-minute scrambles and missed deadlines
- Coordinate teams and vendors smoothly
- Keep your budget and scope under control
- Deliver a polished, stress-free experience for attendees
The best part? You don’t need to reinvent the wheel. With the right framework and tools, building a timeline becomes more about strategy than stress. Tools like monday.com, ClickUp, Office Timeline, and Miro can streamline the process and give you real-time visibility into your plan.
In this guide, you’ll learn:
- What an event planning timeline actually is
- How to build one step by step
- Which tools and templates help you work smarter
- Tips to avoid common mistakes that even pros make
Let’s map out a timeline that doesn’t just work, but wows. 💼
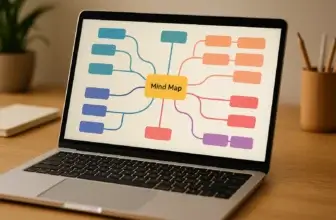
What Is an Event Planning Timeline?
An event planning timeline is more than just a to-do list with dates. It’s a structured, visual roadmap that breaks down every task you need to complete—before, during, and after your event—into manageable phases.
Whether you’re planning a global conference or a local workshop, timelines help you:
- Define what needs to happen
- Decide when it needs to happen
- Assign who is responsible for each step
🎯 Why It Matters
Without a timeline, you’re likely to:
- Miss crucial deadlines (like booking the venue before it’s sold out)
- Forget key elements (like A/V setup or catering confirmations)
- Overwhelm your team with last-minute tasks
A well-crafted timeline acts as your project control center. It provides clarity, improves communication, and ensures that everyone is aligned—especially across remote or hybrid teams.
Pro tip: The earlier you start building your timeline, the more flexibility you’ll have when things inevitably shift.
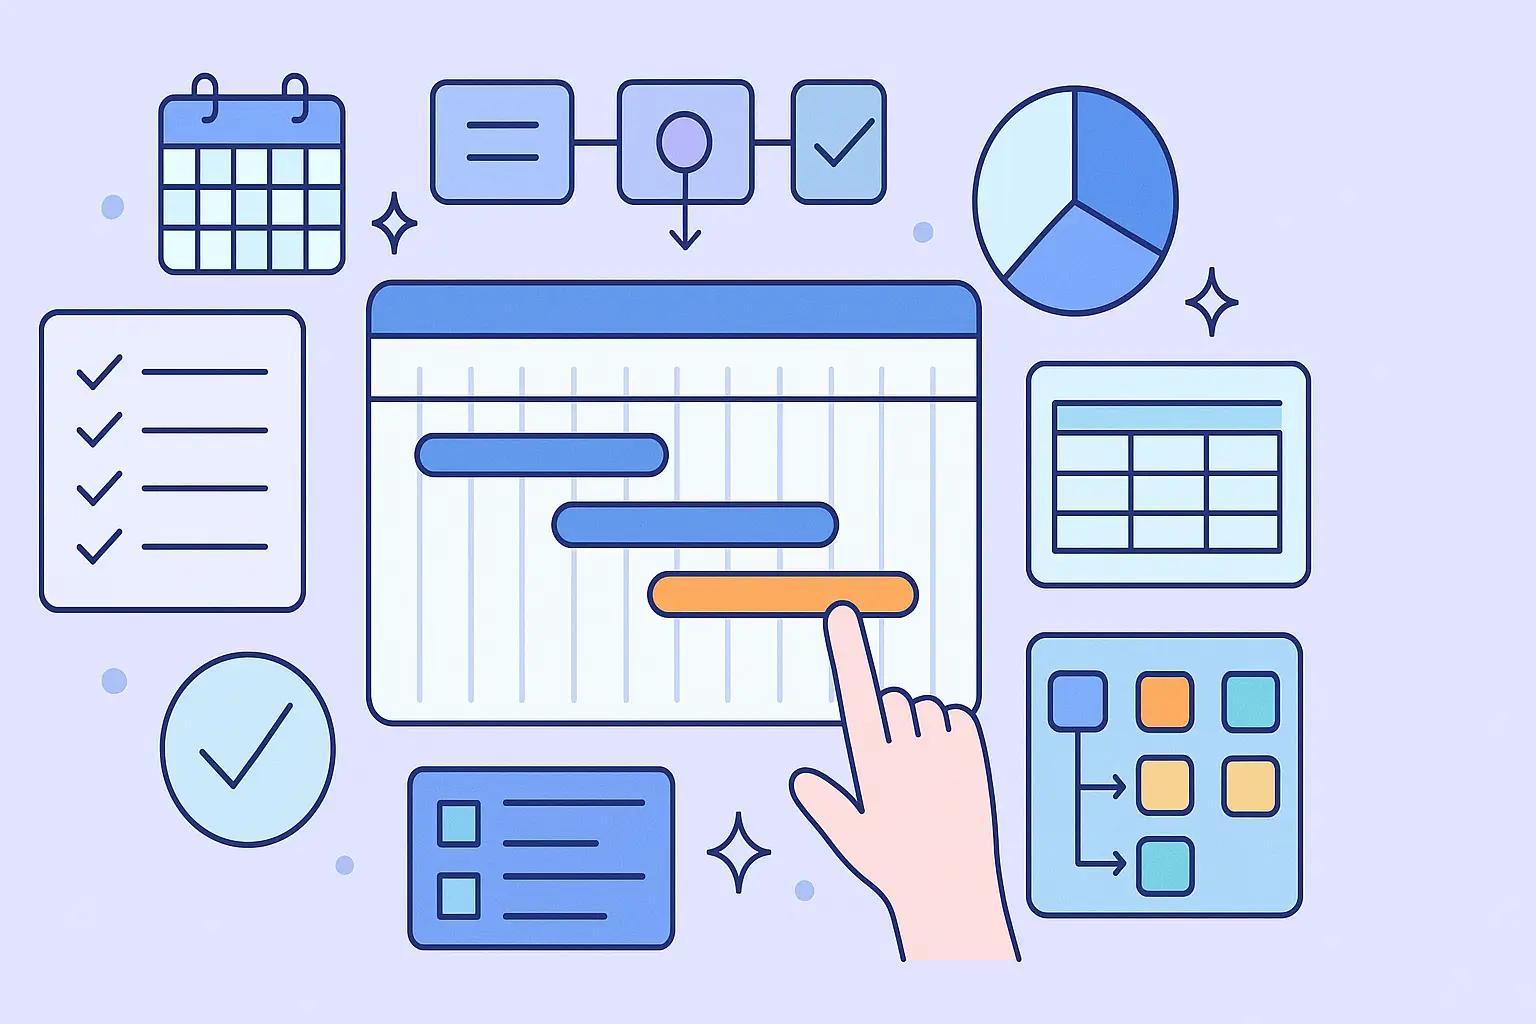
📊 Timeline vs Checklist: What’s the Difference?
It’s easy to confuse a timeline with a checklist, but they serve different purposes:
| Element | Timeline | Checklist |
| Focus | Tasks with deadlines across a calendar view | List of tasks, no time reference |
| Structure | Organized by phases or time frames | Often flat and static |
| Visibility | Great for long-term planning and tracking | Best for short bursts or day-of tasks |
📌 Use Cases for Timelines in Event Planning
Timelines are essential for all types of events, including:
- Corporate events (internal meetings, summits, offsites)
- Product launches and press events
- Fundraisers and nonprofit galas
- Virtual conferences and webinars
- Festivals or public exhibitions
Every one of these requires coordination across multiple teams, vendors, and deadlines. A timeline helps you stay organised across that complexity.
Why You Need an Event Planning Timeline
If you’ve ever felt like you’re constantly putting out fires while planning an event, you’re not alone. But here’s the thing: it’s not a badge of honour – it’s a sign your timeline isn’t doing its job.
An event planning timeline isn’t just helpful – it’s essential. It gives you control in a situation where chaos can easily take over.
✅ Key Benefits of a Planning Timeline
A solid timeline offers more than organization. It actively protects your budget, your team’s sanity, and your event’s success.
Here’s what it brings to the table:
- Clarity: Everyone knows what’s happening and when
- Accountability: Tasks are assigned with deadlines and ownership
- Efficiency: Time isn’t wasted reinventing the wheel each week
- Risk Reduction: Fewer surprises and last-minute rushes
- Smarter Collaboration: Clear handoffs between teams and vendors
💡 Example: Without a clear timeline, your vendor might deliver signage the day after your event starts. With one, they’ll have a set delivery date weeks in advance, plus reminders along the way.
🧠 Helps You Think Strategically
Event planning isn’t just about logistics. It’s also about strategy:
- When should you start marketing to hit ticket goals?
- How early should speakers be confirmed?
- What deadlines depend on others, like venue approval or catering?
Your timeline helps you see the big picture, connect the dots, and make informed decisions instead of reactive ones.
🔁 Adaptability Without Chaos
Even the most buttoned-up events face unexpected changes. The timeline gives you a framework that can adapt without collapsing.
For example:
- A speaker cancels? See your prep deadline and replace them fast.
- A budget shift? Adjust deliverables early, not in panic mode.
With the right planning tool (ClickUp or monday.com), you can update one task and watch everything else adjust automatically.
Timeline Phases with Milestones
Every great event begins long before the doors open. A smart event planning timeline breaks things down into clear, time-based phases – so you know exactly what to do and when.
Here’s a simplified breakdown to help you structure your own.
🗓 12+ Months Before the Event
This is the strategic phase where foundational decisions are made.
- Define event goals and success metrics
- Set the budget and get initial approvals
- Scout and book the venue
- Choose the event date(s)
- Build your planning team and assign roles
✅ Tool tip: Use monday.com to build your high-level project plan visually.
📣 6–9 Months Before the Event
Now it’s time to secure the pieces that bring your event to life.
- Book keynote speakers and vendors (catering, A/V, entertainment)
- Launch your event website or landing page
- Develop a marketing strategy
- Set up registration or ticketing systems
📌 Recommendation: Use Miro to map your promotional timeline and campaign touchpoints.
🧩 3–6 Months Before the Event
You’re shifting into execution. Things start moving fast.
- Confirm all logistics and contracts
- Open registration
- Promote through email, social, and partnerships
- Build out the full event schedule
- Start collecting materials (slides, bios, sponsor content)
🧾 1–3 Months Before the Event
This is the detail-confirmation phase.
- Confirm final attendee list
- Assign on-site roles and responsibilities
- Conduct venue walk-throughs
- Print signage and materials
- Run full rehearsals or dry-runs
🛠 Consider: Office Timeline to visualize week-by-week tasks in your deck.
🎉 1 Week Out & Event Day
Everything comes together – now you execute.
- Final confirmations with vendors and staff
- Build a detailed day-of run sheet
- Setup signage, booths, check-in systems
- Conduct team briefing
- Monitor live feedback
📊 Post-Event (Week After)
Even after the event ends, the work isn’t over.
- Send thank-you emails and feedback surveys
- Review performance vs. goals
- Debrief with your team
- Archive materials for future events
💡 Pro tip: Build a ClickUp template from your timeline to reuse for future events.
Best Practices for Creating a Compelling Timeline
A timeline only works if it’s built to actually guide your team, not just sit in a spreadsheet collecting dust. Here’s how to make yours clear, actionable, and foolproof.
🔑 Anchor Your Key Dates First
Start by locking in the non-negotiables: event date, venue deadlines, and speaker confirmations. These are your anchors. Everything else builds around them.
🧱 Break It Into Phases
Don’t overload one list. Split your timeline into phases (like we just did), so it’s easier to digest and manage.
- Early planning
- Execution prep
- Final countdown
- Event day
- Follow-up
This format helps teams focus only on what matters right now.
⏳ Always Add Buffer Time
Things will go wrong. A delivery gets delayed, someone drops a task, or approvals take longer than expected.
Build buffers into every phase, especially near your go-live date.
👥 Assign Clear Ownership
Every task on your timeline needs a name next to it. “Team to confirm speakers” is vague. “Jess confirms speakers by Sept 15” gets results.
Use ClickUp or monday.com to assign owners and due dates visibly.
📲 Keep It Living, Not Static
Your timeline isn’t a one-and-done doc. It needs to be updated as plans evolve.
- Use cloud-based tools
- Hold weekly timeline reviews
- Share live links with stakeholders
💡 Tools like Office Timeline make it easy to update and re-export your visual roadmap as things change.
Keep these tips in mind, and your timeline becomes more than a list – it becomes the foundation of a smooth, professional event.
Tools That Make Your Event Planning Timeline Compelling
The right tools don’t just save time – they transform how you plan, communicate, and execute events. Whether you’re organizing a small meetup or a large conference, these platforms help you turn your timeline into a live, collaborative hub.
Here are four standout tools that elevate your planning game:
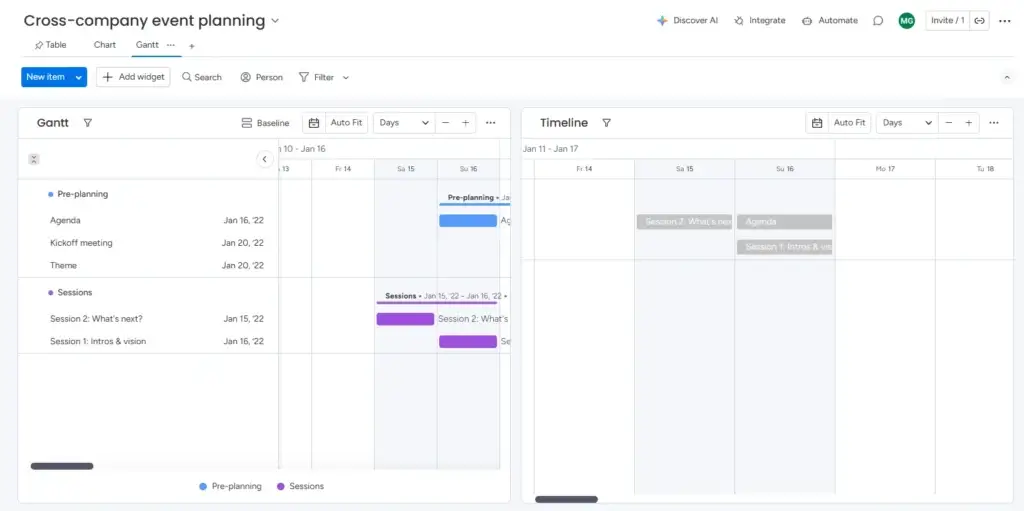
💼 monday.com
Best for: Visual project planning across large teams
- Drag-and-drop Gantt views
- Color-coded timelines and status tags
- Custom automations and alerts
- Templates built for event planning
💡 Why it works: monday.com makes it easy to track timelines across departments. You can build a high-level overview or zoom into detailed tasks with full transparency.
🌐 Visit monday.com
👉🏼 Read our FULL review
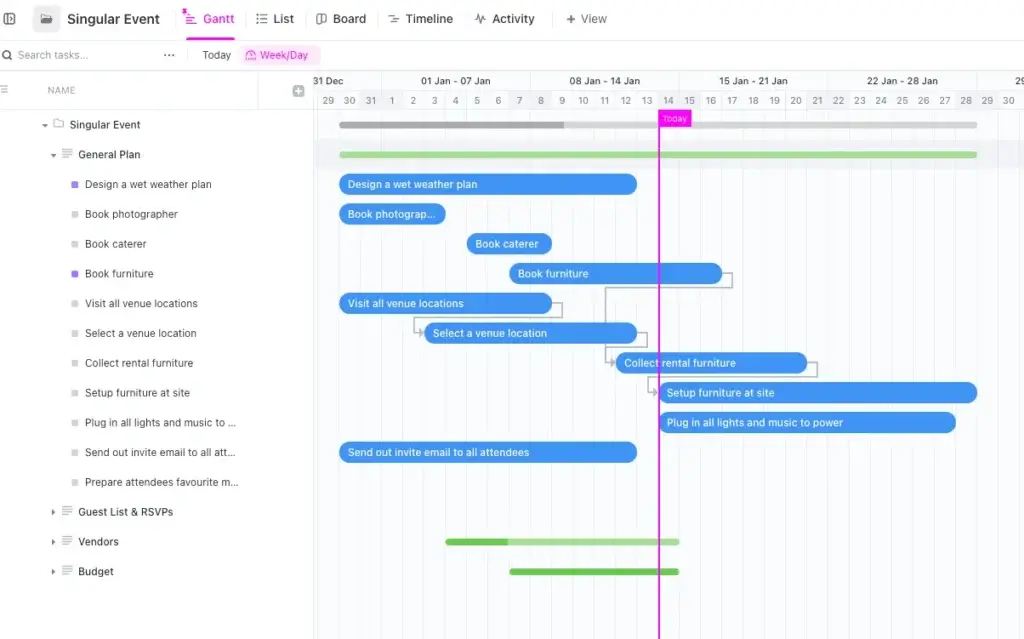
📊 ClickUp
Best for: Teams that want full control and customization
- Multiple views: Gantt, List, Calendar, Kanban
- Advanced task dependencies and milestones
- Real-time comments and doc sharing
- Time tracking and workload views
💡 Why it works: ClickUp offers unmatched flexibility. Build reusable timeline templates and assign exact ownership for every deliverable – perfect for hybrid or remote teams.
🌐 Visit ClickUp
👉🏼 Read our FULL review
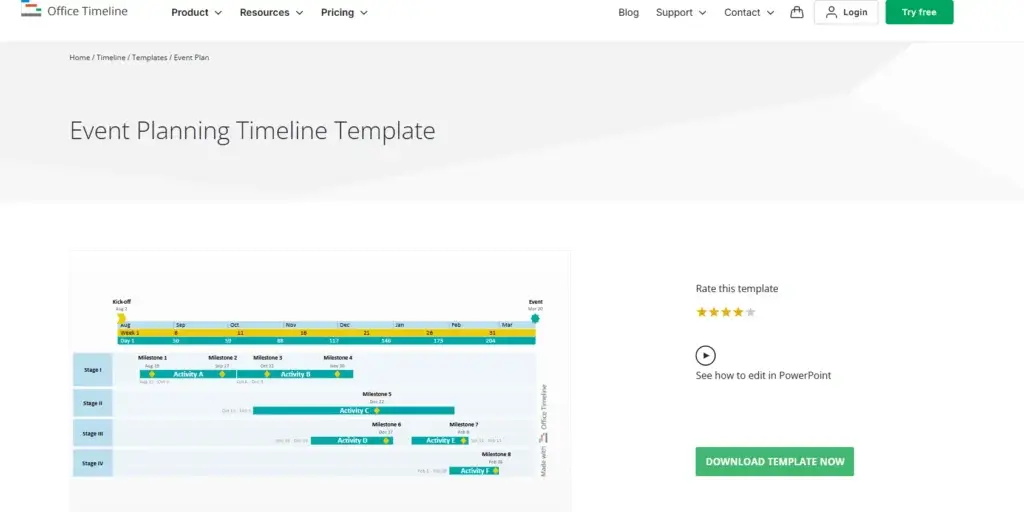
📅 Office Timeline
Best for: Client presentations and executive-ready visuals
- Create elegant timelines inside PowerPoint
- Drag-and-drop simplicity
- Integrates with Excel and MS Project
- Great for day-of event run sheets
💡 Why it works: If you need to present your event roadmap to stakeholders, Office Timeline makes it look sharp and professional in minutes.
🌐 Visit Office Timeline
👉🏼 Read our FULL review
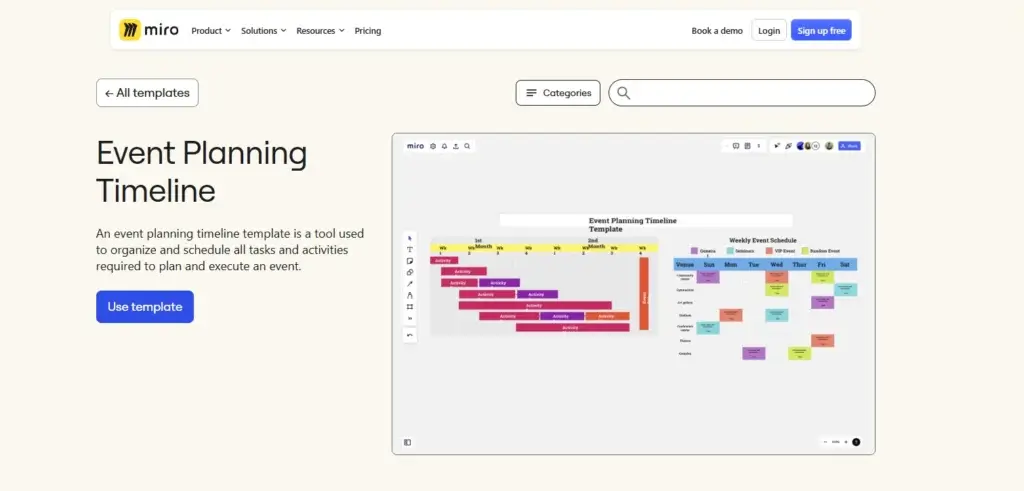
🧠 Miro
Best for: Collaborative planning and brainstorming
- Visual whiteboards and flowcharts
- Real-time team editing
- Great for mapping phases, roles, and creative flows
- Prebuilt event timeline templates
💡 Why it works: Miro turns planning into a team activity. Use it to brainstorm the event concept or map out the entire customer journey visually.
🌐 Visit Miro
👉🏼 Read our FULL review
🧮 Quick Tool Comparison
Here’s a quick glance at how these tools compare:
| Tool | Best For | Key Features | Collaboration Level |
| monday.com | Visual scheduling | Gantt charts, automations, color-coded boards | High |
| ClickUp | Task-level control | Dependencies, docs, multiple views | High |
| Office Timeline | Presentation visuals | PowerPoint add-in, Excel integration | Medium |
| Miro | Visual collaboration | Whiteboarding, flow maps, templates | Very High |
These tools aren’t just accessories – they’re your co-pilots. Use them to automate updates, improve visibility, and keep everyone aligned without digging through endless email threads.
Step-by-Step: How to Build Your Event Planning Timeline
Building an effective event timeline isn’t about complexity – it’s about clarity. With the right steps and tools, you can create a timeline that keeps your entire team aligned from kickoff to post-event follow-up.
Here’s your streamlined process:
1. 🧱 Start with the Event Date and Work Backwards
Your anchor is the event date itself. Once that’s locked in, build backward to map out what needs to happen before that day.
- Set your event date and venue deadline
- Identify key deliverables (e.g. speaker booked, vendor confirmed)
- Map dependencies between tasks (e.g. registration can’t open before landing page is ready)
💡 Pro tip: Use ClickUp’s “Gantt view” to build this reverse timeline easily with task dependencies.
2. 📦 Break Down Into Phases
Organize your planning into logical time-based buckets:
- 12+ Months Out – strategy, budget, venue
- 6–9 Months – vendors, website, marketing
- 3–6 Months – logistics, assets, registration
- 1–3 Months – confirmations, rehearsals
- Week-of & Day-of – setup, execution
- Post-Event – debrief, follow-up
This helps your team focus on the right work at the right time.
3. 👥 Assign Ownership and Due Dates
Each task needs a person and a date. General “team tasks” create confusion.
- Use a tool like monday.com to assign owners
- Add priority labels or tags for high-importance items
- Set automated reminders for upcoming deadlines
💡 Add buffer days for every key deadline. It’s the difference between control and chaos.
4. 🎯 Visualize the Timeline
Whether you’re managing internal stakeholders or presenting to execs, visuals help everyone stay on the same page.
Choose your format based on your audience:
- Gantt charts (ClickUp, monday.com) for planners and project owners
- Presentation timelines (Office Timeline) for execs or clients
- Whiteboards (Miro) for brainstorming and collaborative edits
5. 🔄 Make It a Living Document
Your timeline needs to evolve. Update it weekly, especially as deadlines shift or new details emerge.
- Host recurring review meetings
- Keep a shared live version for your team
- Track completed tasks to monitor progress
💡 Create a template version once your event is complete, so your future self can reuse what worked.
Real-World Example: Mini Event Timeline Case Study
Let’s say you’re planning a 1-day corporate summit for 300 attendees.
Here’s a condensed version of what your timeline could look like using ClickUp or monday.com:
🗓 Timeline Snapshot
| Phase | Key Tasks | Owner | Deadline |
| 6 Months Out | Finalize venue, define agenda, confirm speakers | Event Manager | Jan 10 |
| 5 Months Out | Launch registration, start promo campaign | Marketing Lead | Feb 1 |
| 3 Months Out | Confirm vendors, print materials, build run sheet | Ops Lead | Mar 5 |
| 1 Month Out | Final walkthrough, team briefing, tech dry-run | All Leads | Apr 1 |
| Week of Event | Setup, speaker arrivals, final checklist | Logistics Team | Apr 24–26 |
| Post-Event (Week After) | Send thank-yous, collect feedback, publish wrap-up report | Comms Team | May 2 |
This kind of timeline keeps everyone aligned – on a single view – so there are no surprises or last-minute scrambles.
Common Event Timeline Mistakes to Avoid
Even with the right tools and structure, timelines can fail if a few common mistakes creep in. Here’s how to avoid the most frequent pitfalls that throw event plans off course.
❌ Starting the Timeline Too Late
One of the biggest mistakes is waiting until you’re a few months out to start planning. This leads to:
- Fewer venue choices
- Rushed decisions
- Higher vendor costs
🕐 Solution: Begin your timeline at least 6–12 months ahead, even for mid-sized events.
❌ Forgetting to Add Buffer Time
Delays happen – approvals stall, assets arrive late, or vendors miss dates. If your timeline doesn’t account for these, everything backs up.
✅ Best practice: Add 1–2 weeks of cushion before major milestones and deadlines.
❌ Unclear Task Ownership
Saying “the team will handle it” is a recipe for confusion. Without named owners, tasks fall through the cracks or get duplicated.
👤 Fix it: Assign one clear owner per task, visible to the whole team.
❌ Using Static or Offline Tools
Spreadsheets are fine for basic lists, but they don’t scale. You can’t track live updates or communicate changes efficiently.
🔄 Fix it: Use dynamic tools like monday.com or ClickUp for real-time updates and collaboration.
❌ Packing Too Much into the Final Week
The week before your event should be about polish and readiness, not major deliverables.
🧘 Tip: Push all critical tasks at least 10–14 days before the event date, so you have time to respond calmly if anything shifts.
Avoiding these missteps can mean the difference between a smooth event and a stressful scramble.
Conclusion: Your Timeline Is Your Event’s Backbone
Planning an event without a timeline is like navigating without a map – you might eventually arrive, but the road will be bumpy, stressful, and full of detours.
A compelling event planning timeline is your operational blueprint. It gives your team structure, your stakeholders confidence, and your attendees a seamless experience. Whether you’re planning a one-day workshop or a multi-day summit, timelines help you stay ahead of deadlines, juggle moving parts, and deliver results without burnout.
Let’s recap what you’ve learned:
- Start early – ideally 6 to 12 months out
- Build around your fixed anchor dates and work backwards
- Break your timeline into digestible phases
- Use modern tools like monday.com, ClickUp, Office Timeline, and Miro
- Assign clear ownership for every task
- Build in buffer time for flexibility
- Keep your timeline living, collaborative, and visible
💡 Pro tip: Once your event ends, use what worked to create a template for future timelines. That way, each event gets easier to manage and more polished.
The timeline isn’t just a planning tool – it’s a confidence builder. For your team. For your vendors. And for you.
If you’re ready to put this into action, consider starting with a free template in ClickUp or building a Gantt chart in monday.com. These tools can turn your rough plans into a visual system that actually gets things done.
✨ Happy planning – and may your next event run smoother than ever.
Frequently Asked Questions
1. What is an event planning timeline?
An event planning timeline is a structured schedule that outlines every major task, deadline, and milestone needed to execute an event successfully. It ensures nothing is missed and helps teams stay organized.
2. How early should I start creating my event timeline?
Ideally, start 6 to 12 months before the event. The more complex the event, the more lead time you’ll need – especially for venue selection and vendor booking.
3. What are the key phases of an event timeline?
The main phases are:
- Initial planning (12+ months)
- Vendor and marketing setup (6–9 months)
- Logistics execution (3–6 months)
- Final prep (1–3 months)
- Event day
- Post-event wrap-up
4. What tools are best for building a timeline?
Top tools include:
- monday.com – for visual team workflows
- ClickUp – for task-level tracking and templates
- Office Timeline – for polished timeline presentations
- Miro – for collaborative planning and brainstorming
5. What’s the difference between a timeline and a checklist?
A checklist is static, listing tasks to do. A timeline is dynamic, showing when tasks need to happen and who’s responsible – often in a calendar or Gantt format.
6. How do I handle unexpected changes in the timeline?
Use tools that allow real-time edits and updates. Also, build in buffer time and regularly review your timeline to adjust as needed.
7. Can I reuse a timeline for future events?
Absolutely. Create a template from your finished timeline. It saves time and helps you replicate success in future events.
8. How do I assign responsibilities within the timeline?
Each task should have one clear owner and a deadline. Use project management tools to make these assignments visible and trackable.
9. What happens if I don’t stick to the timeline?
Missed deadlines can lead to vendor issues, poor coordination, or a compromised attendee experience. Sticking to a timeline reduces these risks significantly.
10. Is it necessary to include post-event tasks in the timeline?
Yes. Post-event tasks like thank-you emails, feedback surveys, and performance reviews are essential for learning and maintaining professional relationships.