Introduction
Building successful digital products begins long before any code is written. As someone responsible for guiding a project from concept to launch, you need a repeatable way to turn raw ideas into polished user experiences. A structured ideation‑to‑prototype workflow helps you generate and refine concepts, visualize solutions, gather feedback, and validate assumptions early. When done well, this process reduces risk, improves usability, and brings the entire team onto the same page.
Throughout this guide, you will learn how to move seamlessly from brainstorming sessions to clickable prototypes. You’ll discover how prototyping fits into agile teams and design sprints, and how to validate ideas with real users before investing in development. By following these best practices, you’ll accelerate product discovery while maintaining a user-centered focus and fostering strong collaboration across disciplines.
Understanding the Ideation‑to‑Prototype Workflow
The ideation‑to‑prototype workflow is a set of stages that transform fuzzy ideas into tangible design solutions. Each stage builds on the previous one, allowing you to explore possibilities, select promising directions, and progressively add detail. Working through these phases helps you stay aligned with users and business goals while avoiding the trap of jumping straight into development.
From idea generation to concept refinement
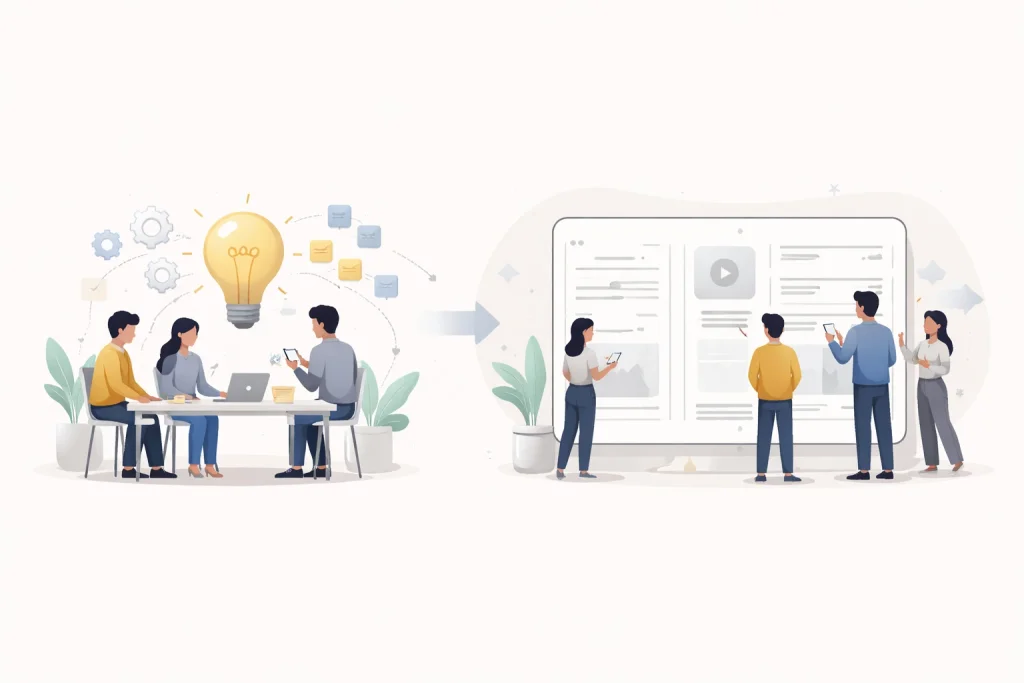
Great products start with a wide net of ideas. To generate a broad set of concepts:
- Encourage divergent thinking. Use methods like brainstorming, mind mapping, and the SCAMPER technique (Substitute, Combine, Adapt, Modify, Put to another use, Eliminate, Reverse) to stretch your thinking beyond obvious solutions.
- Ask the right questions. When evaluating ideas, consider why the product should exist, what it needs to do, and how it will be built. These questions guide your team toward solutions that solve real user problems and can be delivered successfully.
- Conduct research. Gather input from user interviews, personas, market analysis, and competitor reviews to screen ideas against feasibility, market fit, and business goals.
Once you have a pool of ideas, refine them by grouping similar concepts, identifying patterns, and ranking them based on desirability, feasibility, and viability. The goal at this stage is to select a handful of directions to explore further rather than choose a final design.
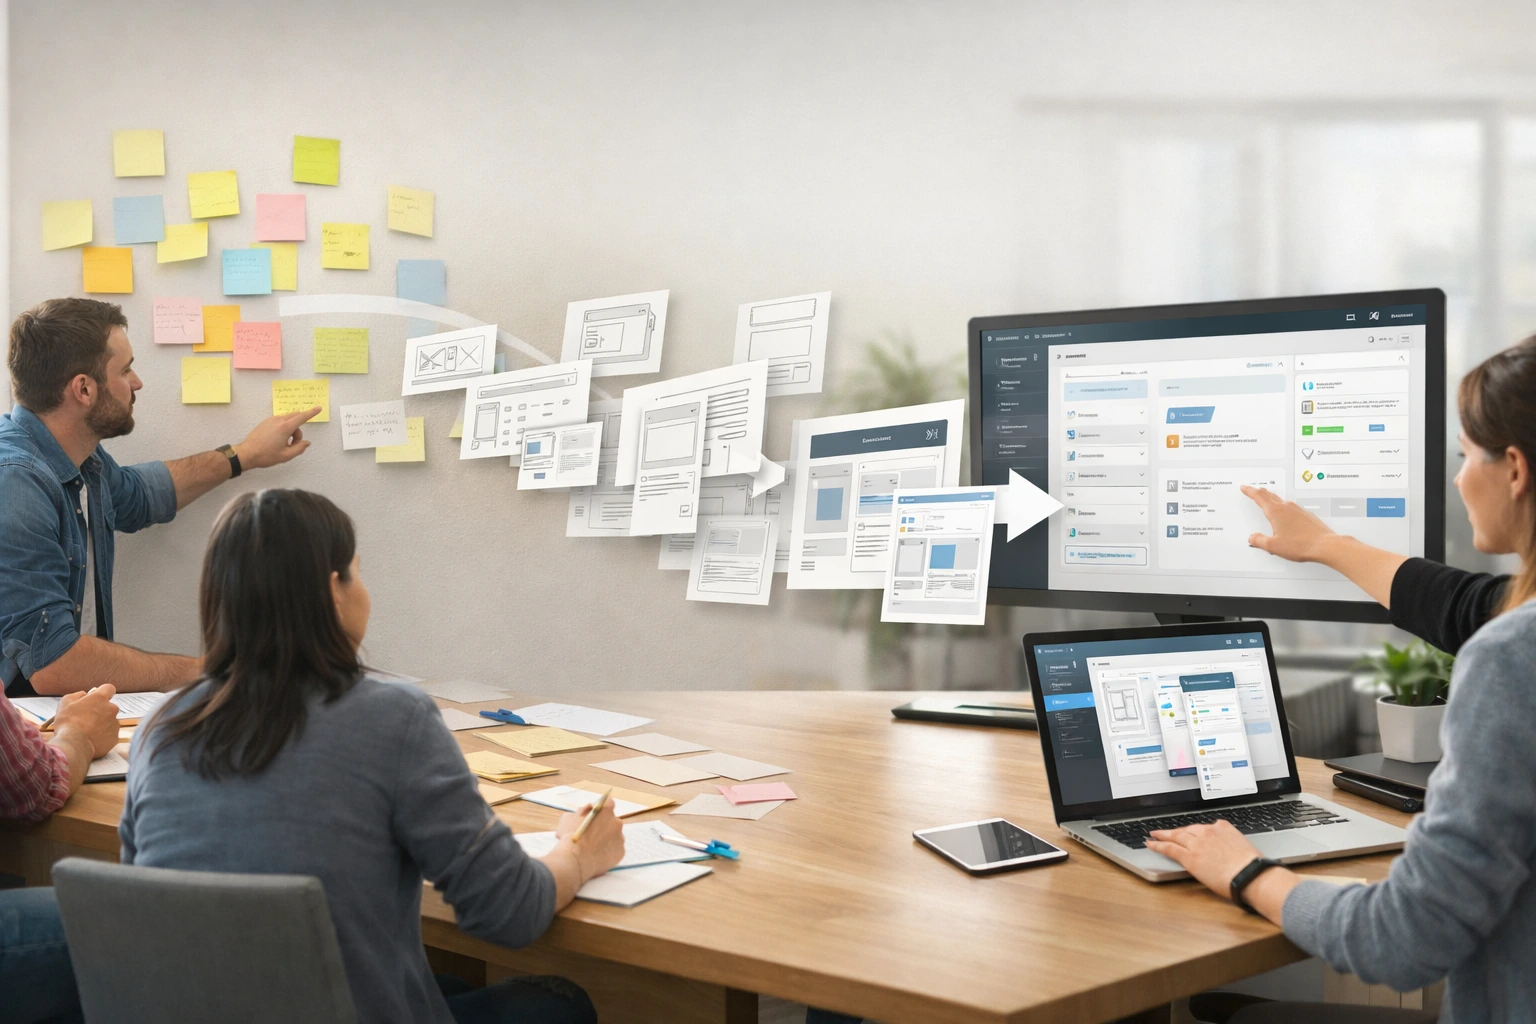
Shaping ideas: wireframes and early prototypes
With promising concepts in hand, turn abstract ideas into low‑fidelity representations. Low‑fidelity prototypes are rough sketches or wireframes that focus on structure and flow rather than visual polish. They help you answer questions like:
- Does the user flow make sense?
- Is the information architecture intuitive?
- Can users complete key tasks without confusion?
Use paper sketches, whiteboard drawings, or digital wireframe tools to create simple screens that map out the user journey. Because they are quick to create and easy to change, low‑fidelity prototypes encourage experimentation and invite feedback without the pressure of perfection. At this stage, you should also define primary user flows and translate concepts into user stories to clarify how people will interact with the product.
Moving to interactive prototypes
After wireframes have resolved basic layout and navigation questions, you can start building interactive prototypes. These medium‑fidelity prototypes allow users to click through screens and experience transitions, but they still avoid heavy visual styling. Popular tools like Figma, Adobe XD, and InVision make it easy to connect screens and simulate interactions. You should:
- Add core interactions. Include essential buttons, navigation menus, and inputs so testers can perform key tasks.
- Leverage design systems. If your organization has a design system, reuse established components to ensure consistency and speed up prototyping.
- Keep content realistic. Populate prototypes with sample data, labels, and copy that reflect real scenarios. Authentic content helps testers focus on the concept rather than guess what an empty field might represent.
Mid‑fidelity prototypes are especially useful for evaluating navigation patterns, touch targets, and overall usability. They usually take a day or two to create and can be tested with remote unmoderated testing platforms, giving you quick insight into user behaviour without a heavy time investment.
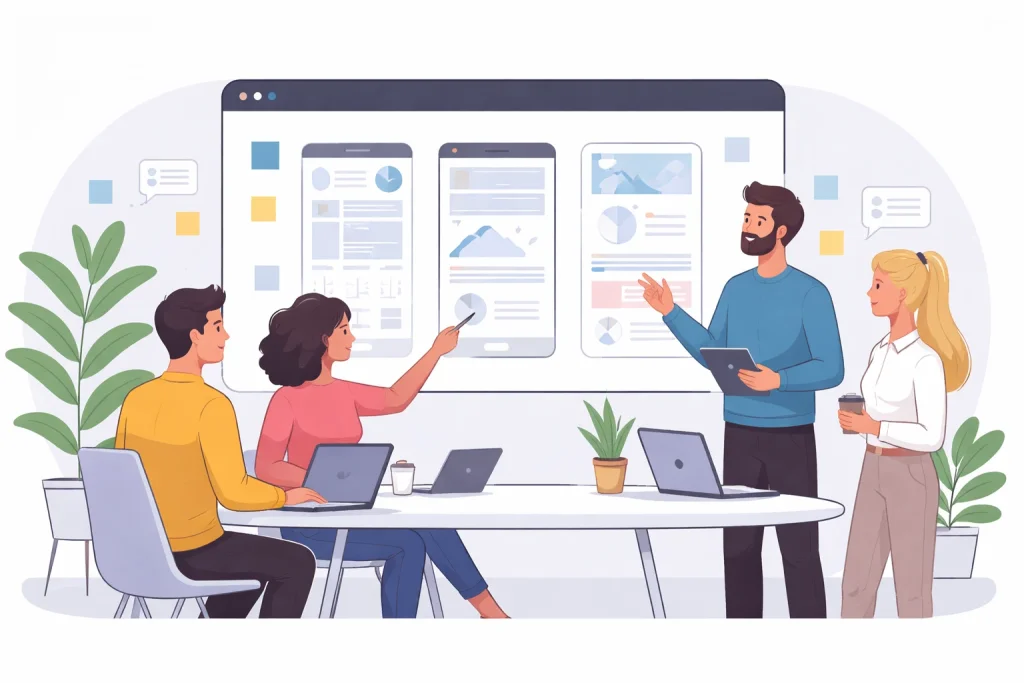
Usability testing and iteration
User feedback is the foundation of a user‑centered design process. Once you have an interactive prototype, schedule usability tests to observe how real users interact with your solution. Combine qualitative observations (user quotes, behaviour patterns) with quantitative metrics (task success rates, time on task, error rates) to build a holistic view of the experience. Pay particular attention to friction points, where users hesitate or get confused.
After each testing round, synthesize findings and decide whether to iterate, pivot, or proceed. The prototyping process is inherently cyclical: design, test, learn, refine, and repeat. Each iteration should bring you closer to a solution that satisfies user needs, aligns with business objectives, and fits within technical constraints. Document decisions and feedback to maintain a trail of learnings and avoid revisiting solved problems later.
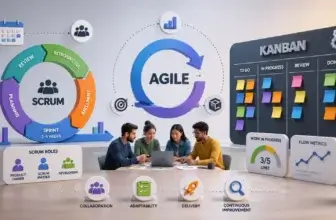
Prototyping in Agile Teams
Agile methodologies emphasize delivering value early and often through iterative cycles. When integrated thoughtfully, prototyping complements agile by reducing the risk of building the wrong thing and improving team alignment. Instead of viewing prototyping as a separate phase before development, agile teams embed it into their sprint rhythm.
Embedding prototyping in the sprint cycle
To make prototyping a routine part of your workflow:
- Ask the validation question during sprint planning. When discussing user stories, ask “Does this need validation before engineering?” If a feature introduces new flows or uncertainty, allocate time for prototyping and testing. Backend or minor visual tweaks may not require prototypes.
- Time‑box prototyping tasks. Plan prototypes like any other sprint item with estimates and dependencies. Starting on day one ensures you have time to test and iterate before the sprint ends; leaving prototyping until late in the sprint gives little room to act on feedback.
- Reserve capacity for exploration. Dedicate a percentage of each sprint to exploratory design and validation work. Some teams alternate between “build sprints” and “learn sprints,” but what matters most is having an explicit approach for prototyping.
- Show prototypes at sprint reviews. Share prototypes alongside shipped features so stakeholders understand upcoming work and can provide early feedback. This transparency builds trust and keeps momentum between iterations.
Choosing the right prototype fidelity
Not all prototypes are created equal; match the fidelity to your learning goals and timeline:
- Low‑fidelity prototypes (sketches, paper wireframes) are ideal for concept validation and early user flow testing. They take hours, not days, and help you uncover structural issues without getting bogged down in details.
- Mid‑fidelity prototypes (clickable mock‑ups) test navigation patterns and basic interactions. They take a day or two and provide a balance between realism and speed.
- High‑fidelity prototypes (polished, animated designs) are useful when you need stakeholder buy‑in or need to test nuanced interactions. Modern AI‑powered tools can reduce the time required to produce pixel‑perfect prototypes, but reserve this level of fidelity for high‑risk features or investor presentations.
Choose fidelity based on risk: high‑risk features warrant high‑fidelity validation, whereas low‑risk tweaks may only need a quick sketch. Consider your audience too; engineers may prefer lower fidelity to signal that designs are still evolving, while executives might need higher fidelity to grasp the concept.
| Prototype fidelity | When to use it | Primary goal |
| Low-fidelity | Early ideation and brainstorming | Explore ideas quickly |
| Mid-fidelity | Sprint planning and concept validation | Test structure and flows |
| High-fidelity | Usability testing and stakeholder review | Validate interactions and UX |
| Clickable prototype | Pre-development validation | Reduce product risk |
Roles and collaboration in agile prototyping
Healthy agile teams view prototyping as a shared responsibility rather than a specialized task. Everyone contributes to learning:
- Product managers build rough prototypes to communicate intent and align the team.
- Designers prototype to explore solutions, iterate quickly, and refine visual details.
- Developers create technical prototypes to validate performance, scalability or feasibility.
Some teams rotate the prototyping role each sprint, which helps build empathy across roles and avoids bottlenecks. Use collaborative tools like Figma for real‑time editing and branching, or Framer for code‑like interactions. Video tools like Loom enable asynchronous prototype walkthroughs, while testing platforms like Maze and UserTesting streamline feedback collection.
Integrating user testing into agile cadence
Prototypes are only valuable when paired with user validation. Structure your sprints to include testing time:
- Aim to have testable prototypes by the end of week one in a two‑week sprint. That leaves week two for testing, analyzing results, and iterating before the next planning session.
- Use unmoderated testing tools for quick feedback, and schedule a few moderated sessions for complex flows. Standardized tasks and consistent success criteria make results comparable across sprints.
- Avoid common anti‑patterns such as “prototype‑then‑forget,” over‑polishing, testing too late, or ignoring edge cases. Focus on learning velocity and building prototypes that can translate smoothly into development rather than throwaway deliverables.
Tools for agile prototyping
A well‑chosen tool stack removes friction from the prototype–test–learn loop. Consider:
- Miro for early-stage ideation, journey mapping, design sprint workshops, and aligning teams before and during prototyping.
- Figma for collaborative design and prototyping with real‑time editing and branching.
- Framer for more complex interactions and near‑code prototypes.
- Figr or other AI‑powered tools to accelerate high‑fidelity prototype creation and ensure alignment with your design system.
- Maze or UserTesting for rapid user testing and feedback collection.
- Loom for asynchronous prototype demos to stakeholders.
Choose tools that integrate seamlessly with your workflow and minimize switching costs. Most importantly, ensure everyone on your team can use them comfortably so collaboration is frictionless.
Design Sprints: From Brainstorming to Clickable Prototype
While agile prototyping happens continuously, design sprints are intense, time‑boxed workshops that compress months of ideation, prototyping, and testing into a single week. Originally developed at Google Ventures, a design sprint brings together cross‑functional teams to solve a specific problem through structured exercises. It’s particularly useful for tackling big, risky challenges, like exploring a new product opportunity or adding a major feature, because it delivers evidence‑based insights quickly.
What is a design sprint, and when to use it
A design sprint is a five‑day process for answering critical business questions through design, prototyping, and testing with customers. It helps teams fast‑forward into the future to see how users might respond to a solution without building the full product. You should consider a design sprint when:
- You face a complex problem with no obvious solution.
- You need a quick but structured way to validate a new product or feature idea.
- The problem requires collaboration across disciplines or organizations.
- You want to reduce the risk of investing months of development time into a direction that may not resonate with users.
Design sprints are not ideal if your scope is too narrow, key team members are unavailable or the concept is already validated and just needs execution.
Day‑by‑day breakdown of a design sprint
The traditional design sprint follows a structured five‑day schedule:
- Day 1: Understand. The team creates a shared understanding of the problem by defining a long‑term goal, mapping the customer journey, and interviewing experts. At the end of the day, the decider chooses a specific target to focus on.
- Day 2: Sketch. Individual team members generate detailed solutions through a structured sketching process. The “Crazy 8s” exercise encourages participants to explore eight variations of a concept in eight minutes.
- Day 3: Decide. The team critiques all solutions, votes on the most promising ideas, and creates a storyboard, a step‑by‑step plan for the prototype.
- Day 4: Prototype. Designers and developers build a realistic prototype based on the storyboard. The mantra “fake it until you make it” reminds the team to focus on realism over completeness.
- Day 5: Test. The prototype is tested with five real users in one‑on‑one sessions, while the team observes and takes notes. The feedback informs the next steps: iterate, pivot, or proceed.
Some organizations extend the sprint into a second week to refine the prototype and plan the transition into development. During this follow‑up period, Miro for Prototyping teams determines scope, prioritizes requirements, assesses technical feasibility, and prepares user stories for the upcoming development sprints.
Best practices for successful design sprints
To get the most from your design sprint:
- Define clear objectives. Align on a long‑term goal and sprint questions before the sprint begins. Clarity ensures everyone pulls in the same direction.
- Recruit the right team. A sprint team typically includes a facilitator, a decider, a designer, a product manager, a developer, and subject matter experts. Keep the group small (4‑7 people) to maintain momentum.
- Involve decision makers. Having someone with authority in the room speeds up decisions and prevents issues from stalling after the sprint.
- Prepare logistics. Block out participants’ calendars for the full week, set up a collaborative whiteboard tool (e.g., FigJam or Miro), and arrange user interview logistics ahead of time.
- Stick to the schedule. Use time‑boxed exercises to maintain momentum and avoid endless debate. The sprint thrives on decisive progress.
- Capture insights. Document every decision, question, and user reaction. This record guides follow‑on iterations and prevents knowledge loss.
Integrating design sprints into agile development
Design sprints and agile sprints complement each other. A design sprint gives your team a validated concept and a shared vision, which feed directly into your product backlog. After the sprint, refine the prototype, prioritize features, and break work into user stories for development. Use the insights from the sprint to inform acceptance criteria and success metrics in your agile sprints. By bridging the two processes, you maintain momentum and ensure that lessons learned during the sprint translate into real improvements.

Validating Ideas with Prototypes
The primary goal of prototyping is validation: proving that an idea addresses user needs, fits within technical constraints, and supports business objectives before you invest heavily in development. Validation reduces rework, accelerates decision making, and ensures resources are spent on the most promising solutions.
Why prototype validation matters
- Reduce development risk. Early validation prevents costly rework by identifying usability issues and incorrect assumptions before code is written.
- Improve user experience. Prototypes allow you to iterate based on real user feedback, creating more intuitive and satisfying experiences.
- Accelerate decision making. Visual prototypes help stakeholders grasp concepts quickly and make informed decisions without lengthy documentation.
- Boost creativity. A fail‑fast mentality encourages experimentation and encourages teams to explore innovative solutions without fear of wasting resources.
Methods for validating prototypes
Prototypes can be tested in various ways, depending on your goals and resources:
- Usability testing. Observe users performing tasks with your prototype to identify pain points and assess ease of use.
- A/B testing. Compare different versions of a design to see which performs better on defined metrics.
- Surveys and interviews. Ask participants about their expectations, satisfaction, and perceived value to gather qualitative insights.
- Analytics tracking. When testing digital prototypes, capture data such as click paths, drop‑off points, and time spent on tasks to complement qualitative feedback.
- Customer advisory boards. Present prototypes to a panel of representative customers or stakeholders for early feedback.
For formal studies, aim for at least five participants to identify most usability issues. For lightweight evaluations, even internal teammates or friendly customers can provide quick feedback, though you should not rely solely on them.
Setting success metrics and KPIs
Validation is only meaningful when tied to clear metrics. Define success criteria during the planning phase of your prototype. Possible metrics include:
- Task completion rates and error counts. Measure whether users can complete tasks successfully and track where they struggle.
- Time on task. Compare how long it takes users to accomplish objectives and set benchmarks for acceptable time frames.
- User satisfaction scores. Ask testers to rate their experience using standardized scales to quantify sentiment.
- Rework reduction. Track how often prototyped features require post‑launch redesign versus non‑prototyped features to demonstrate the ROI of prototyping.
- Stakeholder confidence. Monitor whether prototypes lead to faster approvals and fewer iterations in planning sessions.
By defining metrics upfront, you can objectively evaluate designs and avoid subjective debates about which solution is “better.”
Turning insights into action
Insights from validation sessions should feed back into your product roadmap. After testing, categorize feedback into user pain points, feature requests, usability issues, and positive reactions. Prioritize changes based on impact and feasibility, and update your prototype accordingly. Document all learnings and ensure they are accessible to stakeholders. When a prototype meets success criteria, the next step might be building an MVP, a minimal version of the product that delivers core value and guides ongoing iterations.
Tips for a Seamless Brainstorm‑to‑Clickable Prototype Workflow
Achieving flow from ideation to prototype requires more than following a process. It demands a mindset that values collaboration, user empathy, and continuous learning. The following tips help you establish that culture.
Foster cross‑functional collaboration
Prototyping thrives when designers, developers, product managers, and stakeholders work together. Cross‑functional teams combine diverse expertise, uncover blind spots, and generate richer solutions. Encourage open communication and shared ownership:
- Hold regular design reviews with developers and product managers to gather feedback and align expectations.
- Use shared prototyping tools with commenting features so everyone can view updates and provide input in real time.
- Document decisions and rationale in accessible places such as Confluence pages or project boards.
Prioritize user‑centered design
Your ideation and prototyping activities should always start with user empathy. Investing time in understanding user needs, behaviors, and pain points leads to solutions that truly resonate. Techniques such as journey mapping, empathy maps, and personas help the team keep the user at the center. Continually validate assumptions with user research and avoid designing based solely on internal opinions or stakeholder preferences.
Leverage the right tools and processes
Choosing appropriate tools makes ideation and prototyping more efficient:
- Use digital whiteboards (FigJam, Miro) for remote brainstorming, mind mapping, and journey mapping. For example, a mind map can illustrate relationships between user needs, pain points, and opportunities (suggest placing a graphic here with the caption “Mind map of user needs and solution ideas,” and alt text like “A digital mind map showing user needs branching into different solution concepts.”).
- Adopt prototyping tools like Figma for low‑ and mid‑fidelity prototypes and Framer for high‑fidelity interactions. Visualize a fidelity spectrum (graphic showing sketches, wireframes, and polished prototypes) to help readers understand when to use each fidelity level; alt text could be “Comparison of low‑, medium‑ and high‑fidelity prototypes.”
- Utilize testing platforms like Maze or UserTesting to distribute prototypes to participants and collect data automatically.
- Organize your research, prototypes, and feedback in a structured knowledge base to make insights searchable and reusable.
Encourage a culture of experimentation
Rapid prototyping supports a fail‑fast philosophy: it’s better to learn quickly that an idea doesn’t work than to invest months building it. To cultivate this mindset:
- Time‑box exploration and set expectations that prototypes do not need to be perfect.
- Reward learning, even when it comes from invalidated ideas.
- Run retrospectives at the end of each sprint or design sprint to identify what worked, what didn’t, and how to improve.
- Maintain psychological safety so team members feel comfortable sharing unconventional ideas without fear of criticism.
Conclusion
Prototyping isn’t just a step in the design process; it’s a strategic practice that empowers you to explore ideas, align stakeholders, and validate assumptions before committing to development. By adopting a disciplined ideation‑to‑prototype workflow, embedding prototyping into agile cycles, and leveraging design sprints for high‑stakes challenges, your team can deliver user‑centered solutions with confidence. The keys are collaboration, user empathy, deliberate experimentation, and continuous learning. Embrace these principles, and you’ll transform brainstorming sessions into clickable prototypes that pave the way for successful products.
Frequently Asked Questions
How do ideation and prototyping differ?
Ideation focuses on generating and refining a wide range of ideas through techniques like brainstorming, mind mapping, and SCAMPER. Prototyping, by contrast, turns selected ideas into tangible representations (sketches, wireframes, or interactive models) that can be tested and validated. Both are part of the same workflow but serve different purposes.
What’s the difference between low-fidelity and high-fidelity prototypes?
Low-fidelity prototypes are simple representations (paper sketches, wireframes) that emphasize structure and flow. They’re quick to produce and encourage feedback on overall concepts. High-fidelity prototypes are polished and interactive models that closely resemble the final product; they’re useful for testing detailed interactions or obtaining executive buy-in..
How long should a design sprint last?
A traditional design sprint lasts five consecutive days, usually Monday through Friday. Some teams extend the process into a second week to refine the prototype and plan development.
When should I choose a design sprint over regular agile prototyping?
Design sprints are ideal when you’re tackling a high-stakes problem that requires cross-functional collaboration and rapid validation. Agile prototyping is better for continuous improvement of existing products or incremental features.
How many users should participate in prototype testing?
Testing with five users is often enough to uncover a majority of usability issues. For high-impact decisions or quantitative comparisons, you may involve more participants.
What tools are best for remote collaboration on prototypes?
Figma, FigJam, Miro, and Loom support real-time collaboration and async reviews. Testing platforms like Maze and UserTesting help you collect feedback from dispersed participants.
How do I measure the success of prototyping efforts?
Define metrics such as task completion rates, user satisfaction scores, time saved from reduced rework, and stakeholder approval speed. Tracking these metrics over time demonstrates the value of prototyping.
Can non-designers contribute to prototyping?
Yes. Product managers, developers, and other stakeholders can build rough prototypes to communicate ideas and test feasibility. Rotating responsibilities helps build shared understanding and reduces bottlenecks.
How do I balance exploration and delivery in agile sprints?
Reserve explicit time in each sprint for validation. Ask whether a user story needs prototyping during sprint planning and time-box that work early in the sprint.
What happens after a prototype is validated?
If a prototype meets success criteria, refine it into a minimum viable product and create detailed specifications for development. Document insights, prioritize features and break work into user stories so development teams can implement the solution effectively.