
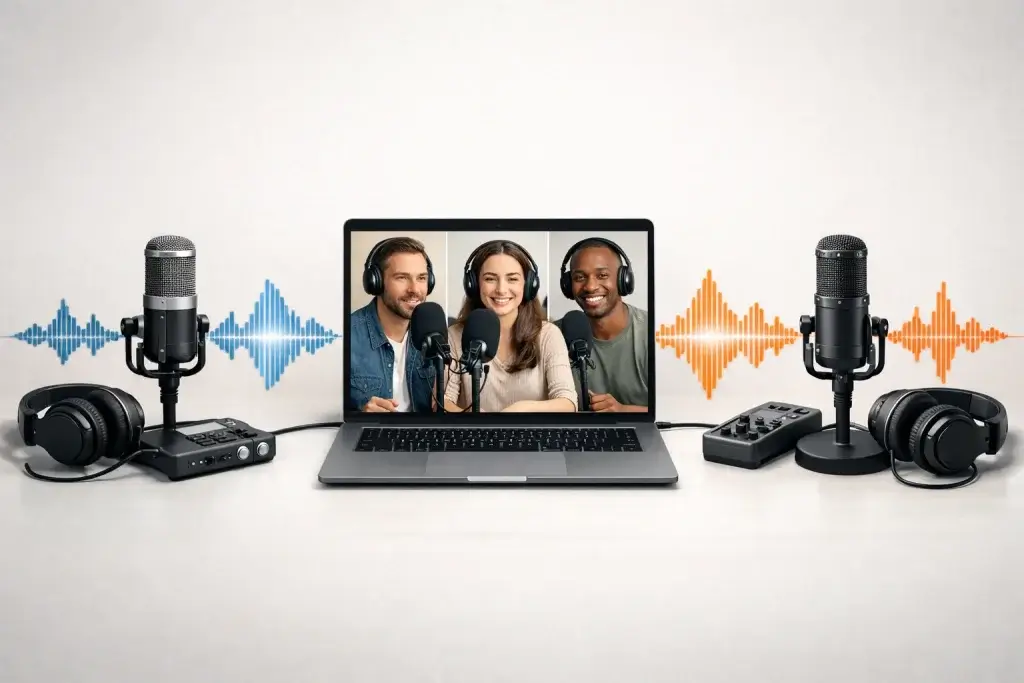
Recording a podcast remotely opens the door to guests around the world and flexible schedules, yet it also introduces technical hurdles. You need to choose the right tools, coordinate with participants in different locations, and ensure the final audio sounds like everyone was in the same room. This comprehensive guide will walk you through the equipment you need, the different methods available, and a step‑by‑step process to ensure your remote recordings are professional and polished. Written for marketers and creators in the competitive SaaS space, it balances technical advice with practical insights to help you build trust and authority.
Understanding Remote Podcast Recording
The Rise of Remote Podcasting and 2026 Trends
Podcasting has grown exponentially over the past few years, and remote recording is now a mainstream practice. According to industry reports, the remote podcast recording market was valued at $1.51 billion in 2024 and is projected to reach $1.80 billion in 2025, reflecting the increasing demand for tools that make virtual collaboration seamless. This surge is driven by the global nature of modern work, remote interviews with high‑profile guests, and the growing number of podcasters who value flexibility over in‑studio recording. As remote recording platforms improve, you can expect features like local multitrack capture, AI‑assisted editing, and enhanced video capabilities to become standard.
Key Challenges When Recording Remotely
While remote podcasting offers convenience, it introduces challenges that you must address proactively:
- Internet dependency: Platforms like Zoom and Google Meet rely on a stable connection. When a guest’s internet glitches, the quality of the recording suffers.
- Audio compression: Many conferencing tools compress audio and limit video resolution, which reduces the overall quality.
- Synchronisation and editing: In methods that involve separate recordings (e.g., the double‑ender), syncing files manually can be time-consuming.
- Technical onboarding: Guests may not be familiar with recording equipment or software. Providing clear instructions and a brief rehearsal ensures smoother sessions.
Understanding these obstacles will help you choose the right method and build a system that mitigates technical hiccups.
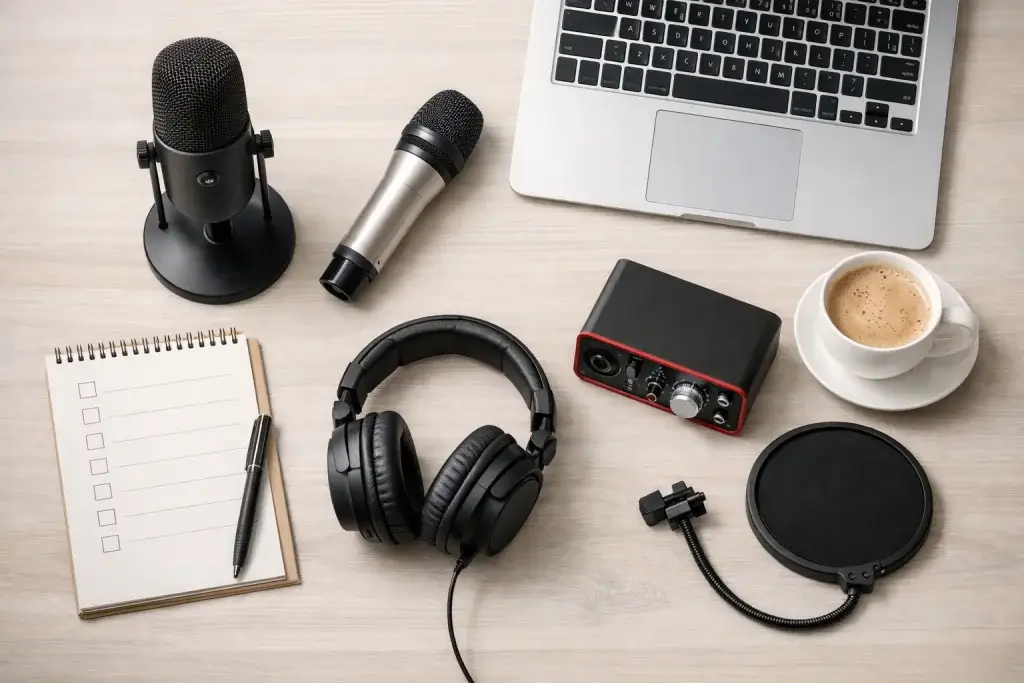
Essential Gear for a Remote Podcast Setup
Choosing the right equipment directly impacts your audio quality. You don’t need a studio‑size budget, but you should prioritise gear that delivers clear, consistent sound.
Microphones, Headphones, and Pop Filters
Your microphone is your most important investment. A good USB mic like the Rode NT‑USB or Audio‑Technica ATR2100‑USB provides plug‑and‑play simplicity with professional‑grade clarity. If you have the budget and want to level up, consider an XLR microphone like the Shure SM7B paired with an audio interface. Always pair your mic with a pop filter or windscreen to reduce plosive sounds.
Headphones prevent feedback and allow you to monitor audio levels. Wired options eliminate latency; the Shure SE215 PRO is a reliable choice. Even a basic pair of wired earbuds is better than using speakers.
Cameras and Lighting
If you plan to publish video podcasts or create promotional clips, invest in a camera that shoots at least 1080p. Entry‑level cameras like the Sony ZV‑E10 or A7 IV deliver crisp footage. On a tight budget, your smartphone’s camera can work well; many phones capture 4K video. Supplement with a small LED light on your monitor or tripod to improve your lighting setup.
Audio Interface or Mixer
An audio interface allows you to connect professional XLR microphones to your computer, providing superior sound quality and greater control over gain levels. Popular choices include the Focusrite Scarlett 2i2 and PreSonus AudioBox USB. If you plan to record phone calls, a podcast mixer like the RØDECaster Pro or Zoom H8 lets you capture separate tracks and adjust inputs in real time. These mixers also integrate effects and can record directly to SD cards for redundancy.
Software and Recording Platforms
Selecting the right software determines how your audio is captured and stored. Many options exist, but they fall into two broad categories:
- Dedicated remote recording platforms (e.g., Riverside, Zencastr, SquadCast) record audio and video locally on each participant’s device, then upload files to the cloud. This local‑first approach yields uncompressed WAV files and high‑resolution video even if the internet connection drops.
- Video conferencing tools (e.g., Zoom, Google Meet, Skype) are designed for meetings rather than professional content. They are accessible and familiar, but they compress audio and usually deliver single‑track recordings.
Later in this guide, you’ll see how these tools fit into different recording methods.
Choosing the Right Remote Recording Method
Remote podcasting isn’t one‑size‑fits‑all. The best method for you depends on your budget, technical comfort, and the level of quality you need. Below are four common approaches, along with their advantages and drawbacks.
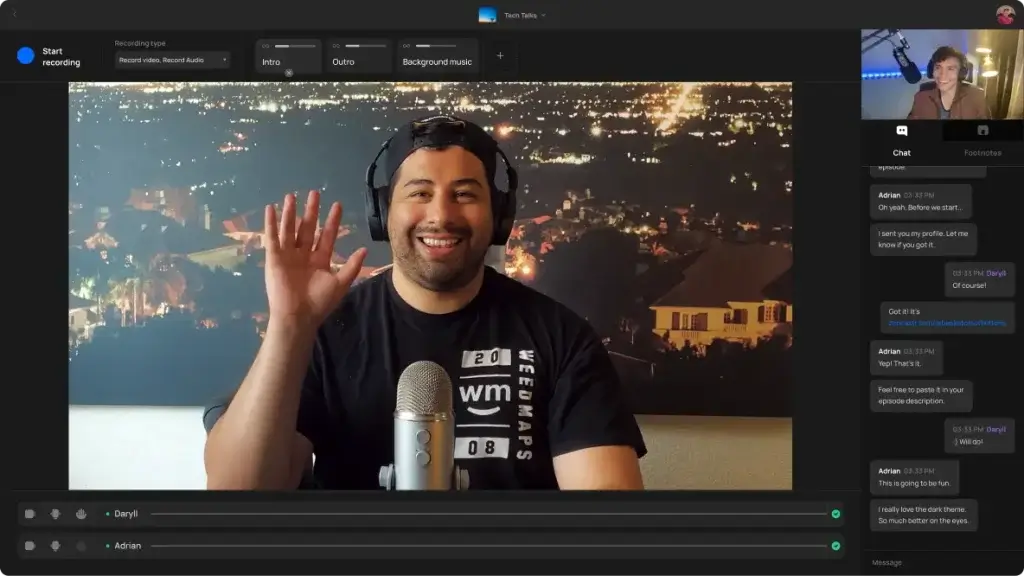
Dedicated Remote Podcast Recording Software
Platforms such as Riverside, Zencastr, SquadCast, and Resound were built specifically for podcasting. They record separate audio and video tracks on each participant’s device (a process known as local recording) and then upload those files for editing. Here’s why many professionals favour this option:
- Studio‑quality recording: Because audio is captured locally, your files are unaffected by internet hiccups. The resulting WAV files offer high fidelity, and video can be recorded in 1080p or 4K.
- Ease of use: Guests receive a link and can join through a browser or mobile app. No downloads or complex configurations are required.
- Multitrack editing: Separate tracks give editors complete control. If two people talk over each other or one microphone hums, problems can be isolated and fixed.
- Built‑in tools: Many platforms offer integrated transcription, clip creation, and basic editing features, which streamline your workflow.
Drawbacks: Some guests may need guidance to grant microphone and camera access. Paid plans are required for longer recordings or higher resolutions, and extremely non‑technical guests might feel uneasy joining a new platform.
Video Conferencing Tools
Using familiar tools like Zoom, Skype, Teams, or Google Meet is appealing because your guests likely already know how to use them. These platforms are inexpensive and allow large groups to participate. However, there are significant trade‑offs:
- Internet dependence: Audio and video quality are entirely tied to connection speed. Packet loss or jitter becomes part of the recording and can’t be removed later.
- Compression and limitations: Video conferencing apps compress audio and cap video resolution, so even if you have a high‑end microphone, the platform will bottleneck the quality.
- Single‑track exports: Unless you adjust settings, many conferencing tools record all participants into a single track, limiting post‑production flexibility.
Video conferencing tools are excellent entry‑level solutions when budgets are tight and high fidelity isn’t the priority. To maximise quality, ensure you and your guests use wired internet, close unnecessary applications, and record separate tracks when possible.
The Double‑Ender Method
The double‑ender method is the gold standard for audio quality when you have technically savvy guests. Each participant records themselves locally using software or hardware, then sends the files to the host after the session. During the call, a separate platform (often a video conferencing tool) is used to communicate.
What You’ll Need: Each person must have a microphone, pop filter, headphones, and a local recording solution such as QuickTime, GarageBand, Audacity, or a hardware recorder. After recording, you must manually sync the tracks using audio or video editing software.
Benefits:
- Pristine quality: Since audio is captured locally, you have complete control over fidelity and can record separate tracks for each speaker.
- Backup: Each participant has their own recording, so if one file becomes corrupted, others remain intact.
Drawbacks:
- Technical complexity: Guests need to install and configure software or hardware. You also need to align audio tracks manually during editing.
- File management: High‑quality files are large; participants must upload them via cloud services like Google Drive or Dropbox, adding extra steps and potential confusion.
Recording Phone Calls via a Mixer or Interface
If your guest isn’t tech‑savvy or lacks a computer, recording via phone call can be a viable fallback. This method involves connecting a smartphone to a mixer or audio interface and recording both your microphone and the phone audio on separate channels.
Advantages:
- Accessibility: Guests only need a phone, so there’s no software to install.
- Host control: You manage the mixer and recording, which gives you separate tracks and more flexibility during editing.
Drawbacks:
- No video: Phone calls are audio‑only, so you can’t create video content.
- Low guest quality: Phone networks compress audio heavily, so the guest’s voice will sound like a phone call, no matter how high‑end your gear is
Step‑by‑Step Checklist for Remote Podcasting
To ensure consistency across episodes, follow this checklist whenever you record remotely. Feel free to adapt it to your workflow.
Plan Your Recording
Define your objective: Know why you’re recording and what insights you want to extract from your guest. Draft a run‑of‑show or outline to keep the conversation on track. Schedule the session when all participants are available and confirm time zone differences in advance.
Choose your method and platform: Decide whether you’ll use a dedicated remote recording platform, video conferencing tool, double‑ender method, or phone call. Confirm that your chosen method aligns with your quality requirements and your guest’s technical comfort.
Prepare a guest onboarding package: Send an email containing a one‑page overview of your podcast’s mission, the technical requirements, a release form, and a concise step‑by‑step guide. This professional touch eliminates ambiguity and helps guests feel confident.
Prepare Your Guests and Gear
Send a pre‑flight checklist: Provide guests with a list of tasks to complete before recording. At minimum, instruct them to find a quiet space with soft furnishings (curtains, carpets), use wired headphones, position their microphone a fist’s distance from their mouth, and close unused applications.
Check your equipment: Test microphones, headphones, cameras, and software. Ensure your audio interface or mixer is configured correctly. For local recording methods, verify that each participant’s software is set to record separate tracks and save high‑quality files.
Run a Tech Rehearsal
One or two days before the actual interview, conduct a short rehearsal call. Use this time to:
- Confirm audio and video settings.
- Check the stability of everyone’s internet connection.
- Familiarise your guest with the recording interface.
- Establish rapport so guests feel comfortable during the real session.
Hit Record: Conduct the Interview
On recording day, follow your run‑of‑show but stay flexible. If you’re using multitrack recording, ensure that each participant’s level is hovering in the green to avoid clipping. Remind everyone to silence notifications and avoid moving around. If you’re using the double‑ender method, count down or clap at the start to create a sync point. During the session, monitor audio levels and address issues quickly:
- If a guest’s internet falters on a local recording platform, pause and resume once the connection stabilises. The local recording remains intact.
- If you hear static or popping, ask the guest to check their cable connections.
- When unexpected noise occurs (sirens, barking dogs), pause, wait for silence, and resume.
Post‑Production and File Handoff
After you finish recording, your work isn’t over. Organise your files and notes to help your editor deliver a polished final product:
- Create a logical folder structure: For each episode, have separate folders for raw audio files, raw video files, assets (music, intros), and your editing notes.
- Use consistent file names: Rename each file to reflect the episode number, participant name, and track type. For example,
042_GuestName_Audio_Host.wav. - Provide editing notes: Write a simple document with time‑stamped notes, highlighting key moments, mistakes to remove, and potential marketing clips.
- Consider marketing goals: Identify soundbites and segments that can be repurposed into quote graphics, short video clips, or newsletter highlights.
Best Practices for Professional Remote Podcasting
Optimize Your Recording Environment
Recording in a studio is ideal, but it isn’t always possible. Whether you’re in a home office or on the road, choose a room with soft furnishings like carpets and curtains to absorb sound. Avoid large empty spaces and echo‑prone areas. Using a reflection filter around your microphone helps reduce echo further. If you’re recording outside, pick a super‑cardioid or shotgun microphone to minimise background noise.
Maintain Guest Comfort and Conversation Flow
Remote interviews can feel impersonal, so take steps to build rapport. Start with a friendly introduction and small talk before hitting record. Encourage guests to speak naturally and not worry about mistakes; editing will remove imperfections. When you need to interrupt to fix a technical issue, do so politely and explain that you’re ensuring the best possible listening experience.
Manage Technical Issues and Redundancy
Even the most sophisticated platforms aren’t immune to errors. Use redundancy to protect your recordings:
- Run a local backup: If your primary recording platform is cloud‑based, simultaneously capture your microphone’s input using a digital audio workstation like Audacity or GarageBand.
- Monitor audio levels: Keep an eye on the platform’s meter display. Aim for levels that sit in the green and occasionally reach the yellow; clipping (red) indicates distortion.
- Prepare for internet issues: If the connection drops temporarily, know that local recordings on professional platforms will continue. Simply resume the conversation once stable.
Organize Files and Editing Notes
Organisation saves time and reduces errors. A clear folder structure and consistent file naming convention streamline the editing process. Your editing notes should include time‑stamped edits, key moments, and audio issues. These notes act as a roadmap for your editor and facilitate marketing repurposing.
Recommended Remote Recording Software and Tools
Choosing the right remote podcast recording tool has a direct impact on audio quality, editing flexibility, and how smooth the session feels for your guests. Below is a breakdown of the most reliable tools used by professional podcasters, with a clear explanation of how each one helps you record remotely.
Top Remote Recording Platforms
Riverside

Riverside is one of the most widely used tools for recording podcasts remotely, especially for creators who care about audio and video quality.
Instead of recording audio over the internet, Riverside records each participant locally on their own device. This means your final files are not affected by internet drops, lag, or bandwidth issues. Even if a guest’s connection becomes unstable during the call, their local recording remains clean and intact.
Riverside automatically uploads these high-quality files to the cloud in the background, giving you separate audio and video tracks for each participant.
Riverside is particularly useful if you:
- Record video podcasts alongside audio
- Want studio-quality WAV files without manual syncing
- Need a guest-friendly setup that works from a browser
How it helps with remote recording
- Local audio and video capture on each device
- Separate tracks for easier editing
- Simple guest access via link, no setup friction
- Built-in backup recording and upload recovery
Strengths and Limitations Compared to Other Tools in This List
Positive
✅ Professional quality recording
✅ End‑to‑end workflow
✅ AI‑powered editing
✅ User‑friendly guest access
Negative
❌ Browser limitations
❌ Learning curve
❌ Resource-heavy
❌ AI imperfections
Zencastr
Zencastr is a long-standing remote recording platform that focuses on simplicity and consistency.
It allows hosts and guests to record high-quality audio locally while using the browser for communication. Zencastr works well for podcasts that prioritize audio quality but do not require advanced video production.
Zencastr also integrates post-production features such as noise reduction and loudness normalization, which can reduce editing time for solo creators.
How it helps with remote recording
- Local audio capture in each participant’s browser
- Separate tracks for every speaker
- Automatic post-production enhancements
- Lightweight setup for non-technical guests
Best for
- Audio-only podcasts
- Small teams or solo podcasters
- Fast, repeatable recording workflows
Strengths and Limitations Compared to Other Tools in This List
Positive
✅ High‑quality recordings
✅ No downloads for guests
✅ AI‑powered editing
✅ All‑in‑one workflow
Negative
❌ Learning curve
❌ Pricing escalates
❌ Limited offline recording
❌ Customer support feedback
SquadCast
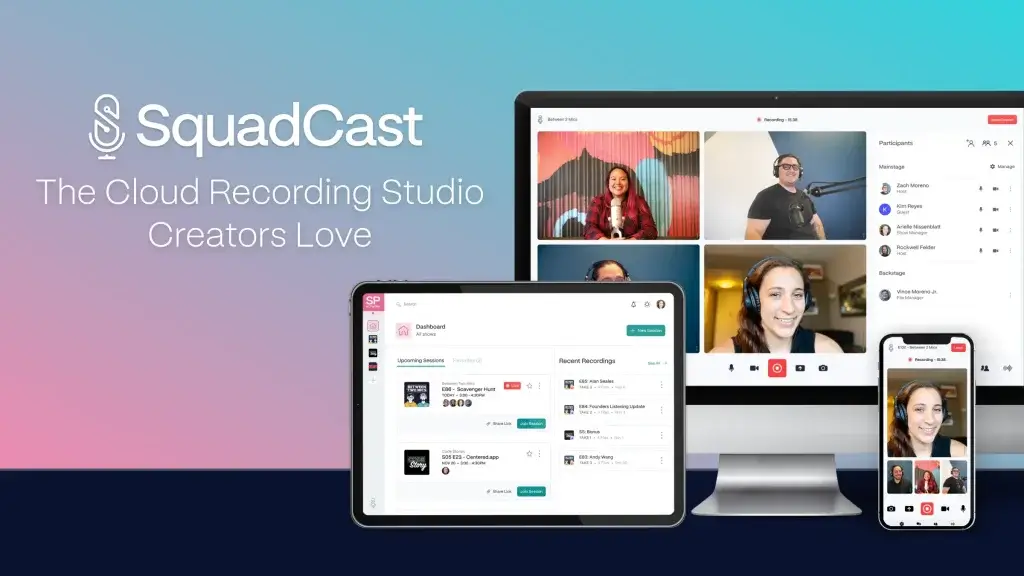
SquadCast is another strong remote podcast recording platform, designed with reliability and post-production in mind.
Like Riverside, SquadCast uses local recording to capture each participant’s audio independently. The key difference is that SquadCast focuses more heavily on audio-first workflows, making it especially popular with interview-based and narrative podcasts.
SquadCast also includes progressive uploads, meaning recordings are continuously saved and backed up during the session. This reduces the risk of losing files if something goes wrong at the end of the recording.
How it helps with remote recording
- Local, uncompressed audio recording
- Automatic cloud backup during the session
- Separate tracks for each speaker
- Stable performance for long interviews
Best for
- Audio-only podcasts
- Interview-driven formats
- Creators who work with editors
Strengths and Limitations Compared to Other Tools in This List
Positive
✅ High‑fidelity recording
✅ Progressive uploads
✅ Separate tracks
✅ Intuitive interface
Negative
❌ Limited live streaming
❌ Recording limits on lower tiers
❌ Watermarks on the Free plan
❌ AI features vary by plan
Conclusion: Elevate Your Remote Podcasting Game
Remote podcasting is more than a workaround; it’s a powerful way to connect with guests and audiences across the globe. When you invest in the right gear, choose a method aligned with your quality goals, and follow a structured workflow, your remote episodes will sound as polished as any in‑studio production. Use the checklist and best practices in this guide to systemise your process and create professional content that stands out in the competitive SaaS podcasting landscape.
Want to dive deeper into the best podcast recording tools? See our full comparison guide to find the right platform for your workflow.
Frequently Asked Questions
1. What is the easiest way to record a podcast remotely?
Using dedicated remote recording software like Riverside or Zencastr is the easiest and most reliable way. You send a link, guests join through a browser, and each participant’s audio and video are recorded locally for maximum quality.
2. Can I use Zoom for remote podcasting?
Yes, but be aware that Zoom compresses audio and typically records all speakers on a single track. If quality is paramount, use a platform designed for podcasting or adjust Zoom’s settings to capture separate audio tracks.
3. What microphone should I use for remote podcasting?
For a balanced mix of affordability and quality, choose a USB microphone like the Rode NT-USB or Audio-Technica ATR2100-USB. If you want broadcast-level sound, pair an XLR mic like the Shure SM7B with a quality audio interface.
4. How can I prepare my guest for a remote recording?
Send a detailed onboarding package and a pre-flight checklist. Encourage them to find a quiet room with soft furnishings, use wired headphones, position their mic correctly, and close unnecessary applications.
5. Do I need a mixer to record phone calls?
If your guest joins via phone, a mixer or audio interface allows you to separate your audio and the phone audio into distinct channels. This yields better control during editing. Without a mixer, apps like Google Voice can record calls, but the quality will be lower.
6. How can I handle technical issues during a remote recording?
Monitor audio levels and internet stability. Pause the conversation if you detect issues and resume when resolved. Use local recording platforms that continue capturing files even when the connection is unstable. Always run a local backup to protect against platform failures.
7. What internet speed is recommended for remote podcasting?
Local recording platforms minimise the impact of internet speed on the final audio, but you still want a smooth conversation. Aim for at least 50 Mbps upload and download speeds for each participant. Encourage guests to connect via Ethernet instead of Wi-Fi and close bandwidth-intensive apps.
8. Should I record video when creating a remote podcast?
Recording video adds value by enabling you to repurpose the conversation into video clips for social media and YouTube. Dedicated platforms capture high-resolution video alongside audio. If video isn’t part of your strategy or your bandwidth is limited, you can disable cameras to prioritise audio quality.
9. How long should a remote podcast episode be?
There’s no one-size-fits-all duration, but 20–45 minutes is common for B2B interviews. Focus on delivering value and maintaining listener engagement. If the conversation is longer, consider breaking it into multiple episodes or publishing a full version and shorter highlight clips.
10. What post-production software should I use?
Popular digital audio workstations (DAWs) like Audacity (free), Reaper, Adobe Audition, and Logic Pro provide multitrack editing, noise reduction, and mixing capabilities. Many remote recording platforms also offer integrated editors for basic processing and clipping.
